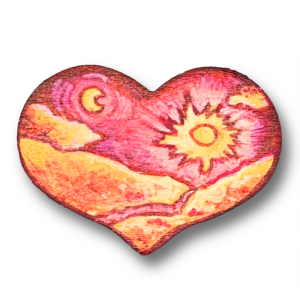
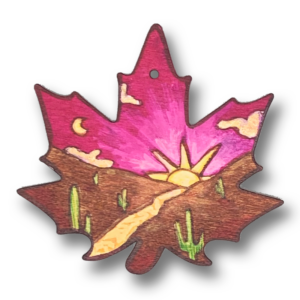
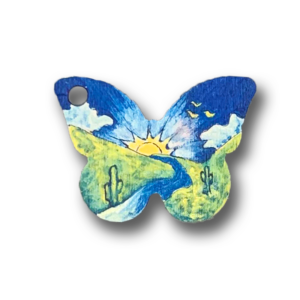
Wood Miniature 3 inches in diameter inches. 1/8 inch thick birch wood.
Make Your Own Wood Miniature–Laser Cut Desert Path 3 ” Circle
$7.00
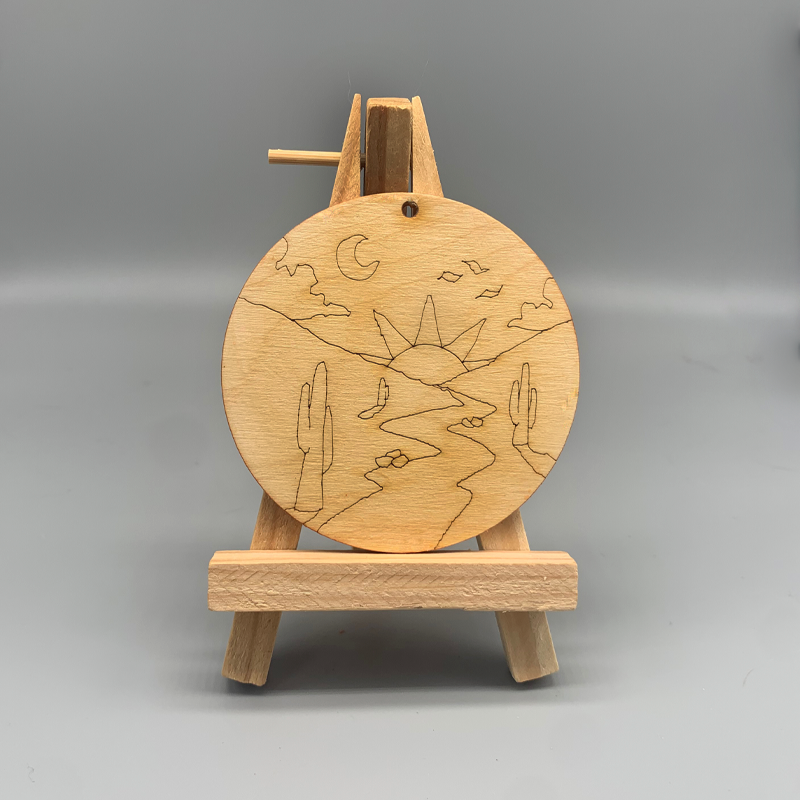
Wood miniature circle ornament on 1/8 inch thick birch plywood. Laser cut replication of Rebecca’s desert design ready for you to decorate.
Great gift for your family, friends, colleagues!
Create a one-of-a-kind handmade ornament that captures the magic of the Arizona desert! Make a special, completely unique memento for your special one, your mom, dad, grandma, grandpa, friends, colleague, etc. Have your kids participate and make a set from the whole family!
Features:
–Circle 3 inches in diameter with Rebecca’s signature desert design.
–Laser cut image creates a light grove to guide you.
–Wood is sealed to protect from moisture and cracking.
–Comes with a pre-cut hole for a keyring or to put string for an ornament.
–Each ornament is signed on the back.
Recommendations:
–Great for adults! Also great for children, but probably best for kids 8 or older.
–I use permanent markers. They will likely last longer than standard markers and I like their intensity.
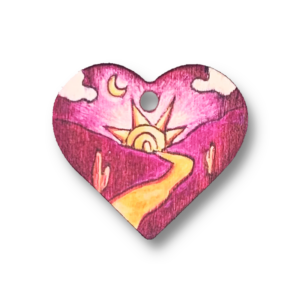
–You can also use paint markers (oil or acrylic) or mix them with the permanent markers. That’s what I use to make the glow around the moons and suns in my ornaments.
–Regular paints also work–acrylics, oils, acrylic and alcohol inks, and gouache would be best. Watercolor will work but it will be very light and may fade more quickly.
–For those of you who are worried about staying inside the lines, the laser cut of the design creates a groove that will help you do so.
–But don’t worry too much about “staying in the lines” or going over the underlying desert design even though it goes against the way most of us were taught in school!! Modify the design however you like to enhance or obscure different parts!
–Experiment with other mediums like glitter, string, decoupage (collaging magazine images or tissue paper), sand, small beads, etc. White glue should work fine to adhere things. Just note that heavier, plastic, or metal items are less likely to stay glued to the ornament for long.
–When you are done, spray a light thin coat of polyurethane varnish (gloss if you want it to be really shiny and glossy). Keep the first coat very light and spray from a least a foot away so that your design does not get too saturate and unintentionally bleed or blend together. After the first coat, you can apply a heavier coat to really seal and finish your ornament. We recommend against painting the varnish, at least on the first coat, it will it make your colors blend together and permanently change the design.
–Keep your ornament out of the sun. An archival varnish that protects against UV rays will help prevent fading, but if it is exposed to constant sun (or the Arizona sun for a couple of minutes!) it will fade much more quickly. Out of the sun it should last for years and years (I’d say forever but that may be an exaggeration).
–Add string or key ring after the piece is completely done.
–You can also glue a magnet to the back if you prefer. Use white glue to attach the magnet.
–Add your signature to mine on the back and it becomes a collaborative venture!
| Weight | 1 oz |
|---|---|
| Dimensions | 3 in |
| Medium | Permanent markers on 1/8 inch birch sealed plywood. |
| Additional Description | –Sealed to protect from moisture and cracking |
